
How to migrate an AWS EC2 instance from IPv4 to IPv6
With AWS’s decision to charge for public IPv4 addresses starting February 1, 2024, many users are looking for ways to avoid the new cost. This article guides you through the process of assigning an IPv6 address to your Amazon EC2 instance and removing the IPv4 address to prevent incurring charges.
Check IPv6 Support
Before making any changes to your AWS setup, ensure that your internet connection supports IPv6. You can use an online site to confirm the support.
Add IPv6 Address
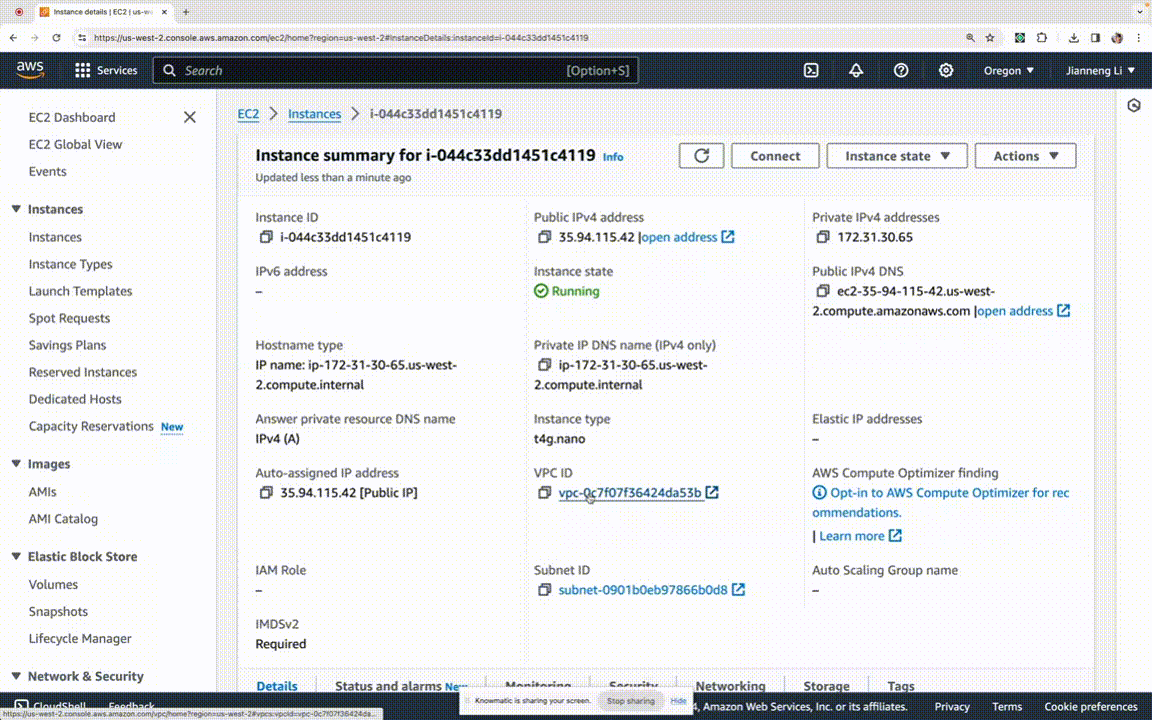
VPC
The first step in the migration process is to configure your Virtual Private Cloud (VPC) to support IPv6.
- Navigate to your VPC settings.
- Select Actions and then Edit CIDRs.
- Assign an IPv6 CIDR block, allowing Amazon to select it for you.
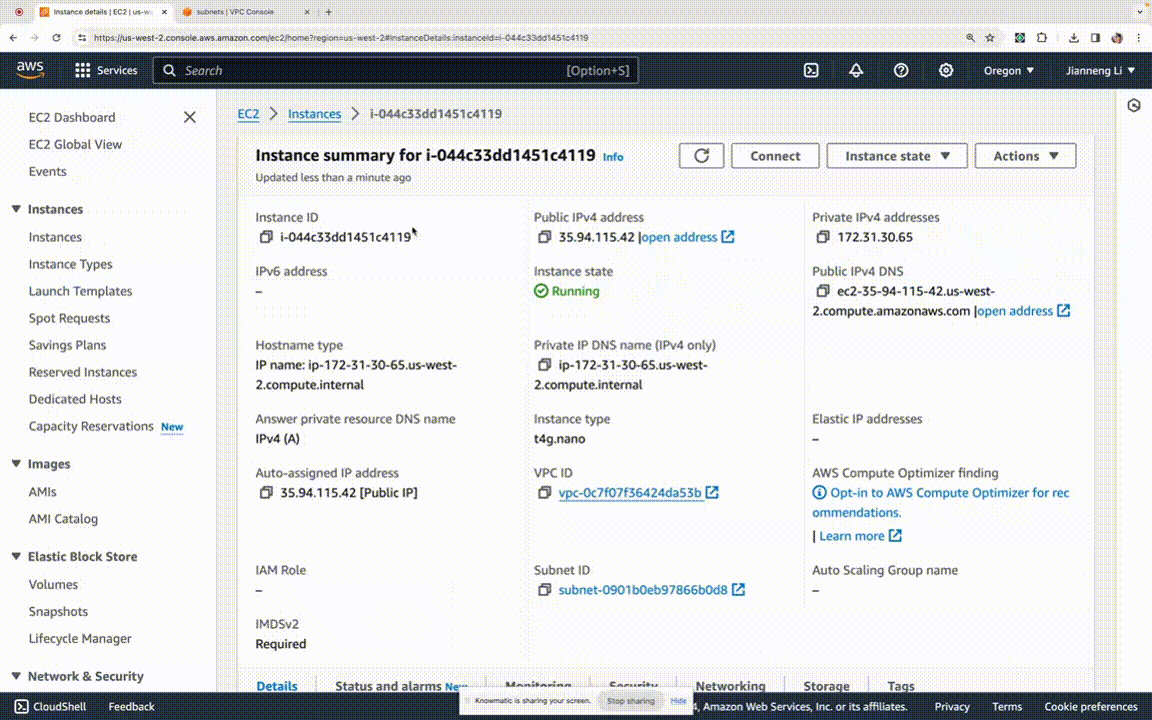
Subnet
After setting up your VPC, you need to configure the subnet associated with your EC2 instance.
- Find and click on the relevant subnet.
- Edit the IPv6 CIDR block, assigning a /64 address.
Network Interface
Next, adjust the network interface settings of your EC2 instance to enable IPv6.
- Go to the instance’s network interface.
- Enable IPv6 assignment and set the primary IPv6 IP to be assigned.
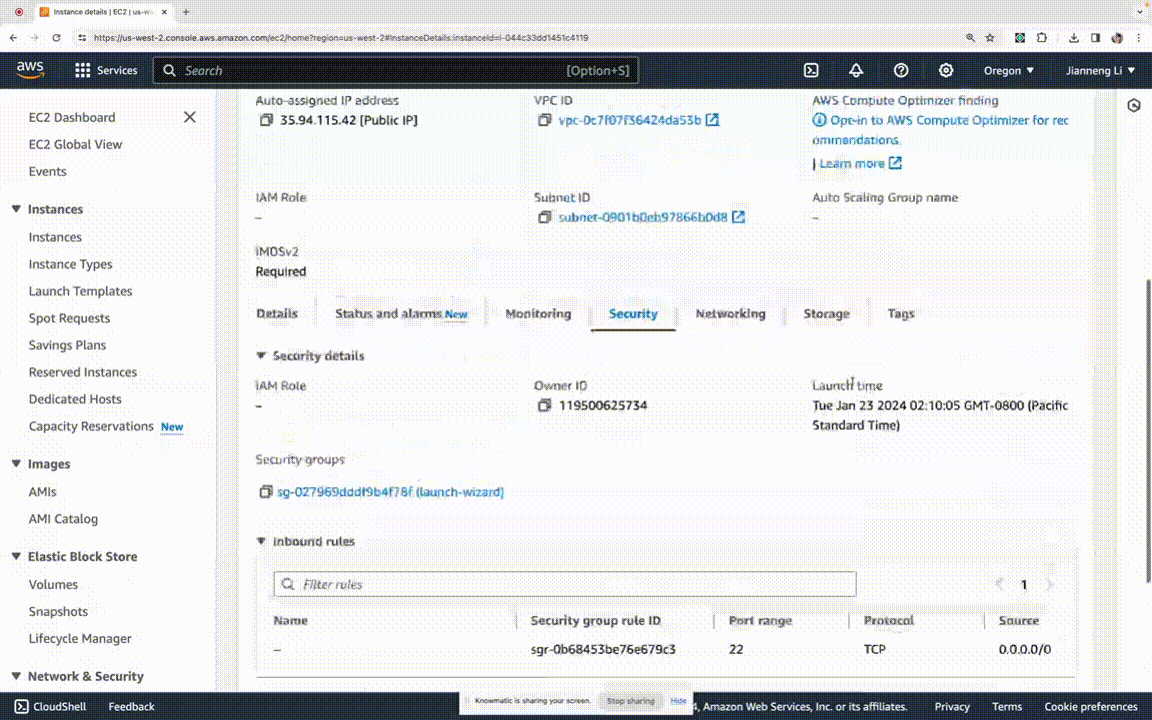
Security Group
To allow traffic to your instance over IPv6, update the security group settings.
- Add a rule to the security group to accept IPv6 addresses.
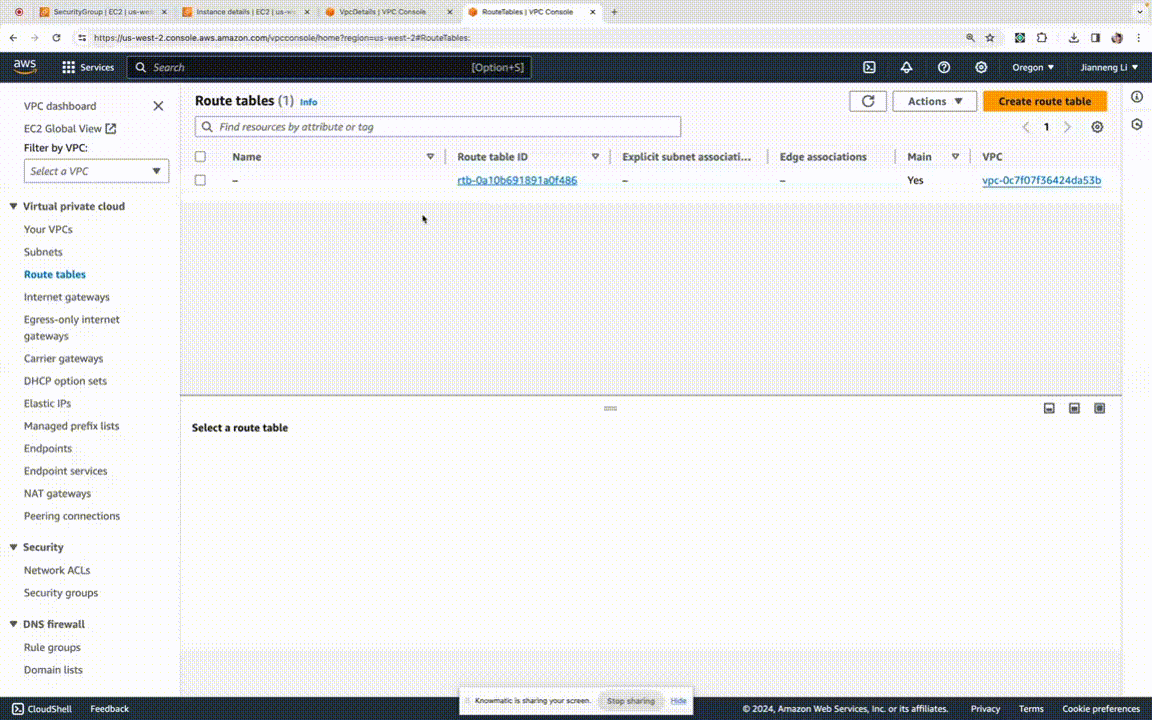
Route Table
Ensure that there is a route for IPv6 traffic in your VPC’s route table.
- Edit the route table and add a route for IPv6.
- Direct the IPv6 traffic to the same internet gateway used for IPv4.
Now you can SSH into your EC2 instance using IPv6.
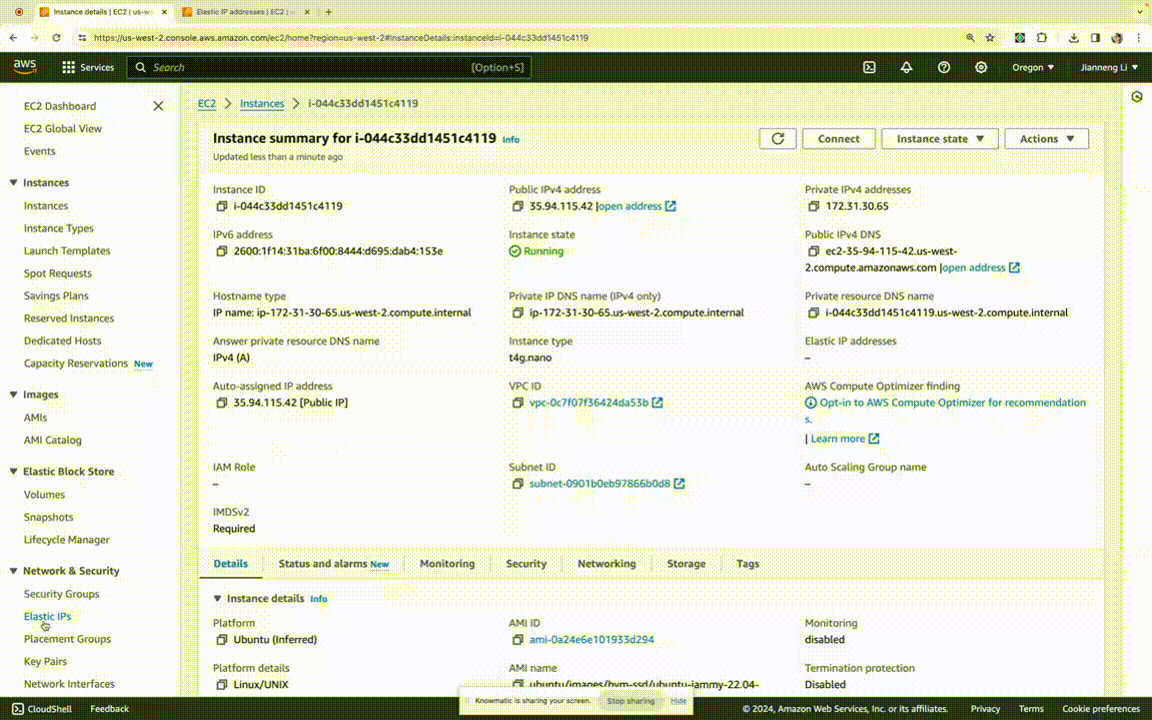
Remove IPv4 Address
Temporarily associate an Elastic IP with your instance to remove the auto-assigned IPv4 address.
Allocate and Associate an Elastic IP
- Allocate a new Elastic IP.
- Associate it with the network interface of your running instance.
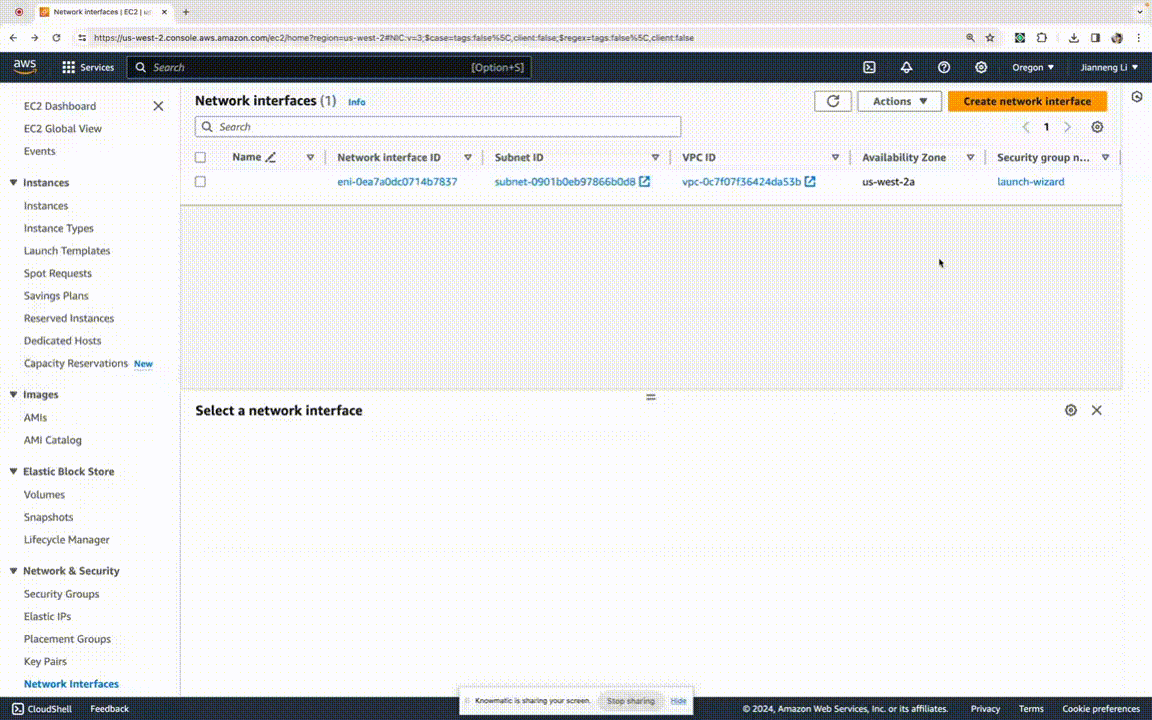
Create and Attach a New Network Interface
- Create a new network interface in the correct subnet and assign it the same security group.
- Attach the new network interface to your instance.
Disassociate and Release the Elastic IP
Complete the process by dissociating and releasing the Elastic IP.
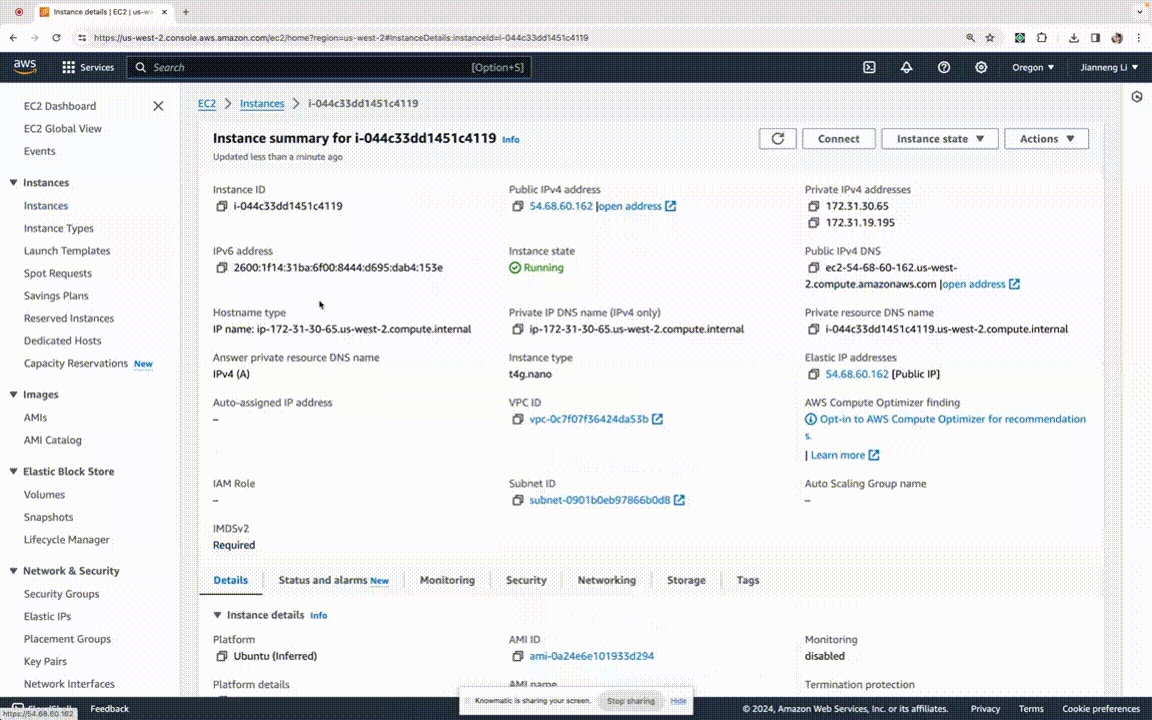
After completing these steps, your instance will only have an IPv6 address and no longer have a public IPv4 address, ensuring you are not charged for IPv4 usage.
Created by Knowmatic
I created this guide using Knowmatic, a tool I’m building that allows you to write help-center style articles by simply recording narrated screencasts. Here’s the input video I recorded (with our browser extension) to generate the above content. As you can see, I was anything but polished the recording - I paused excessively, stumbled with my words, and even had to debug for 20 minutes in the middle when I missed a step in my configurations. But the output article had none of my mishaps. The text is concise and comes with GIFs automatically clipped at the appropriate times.
If Knowmatic’s utility appeals to you, drop us a line, and we’d love to add you to our private beta.
Discussion
Discuss this post on HN.